
When you think of a perfectly smooth floor covered entirely in carpet, you might picture a giant roll being stretched across a room. That is one way to do it. But there is another method that is becoming more and more popular for its simplicity, flexibility, and modern benefits. Whether you are setting up a home office, renovating a hotel lobby, or just want a fresh look for your living room, getting that smooth, wrinkle-free floor is the goal. The secret might not lie in a single giant piece, but in smaller, smarter pieces that fit together like a puzzle. Let us walk through how you can achieve that flawless floor using a modern approach that saves time, money, and hassle.
Understanding the Goal of a Smooth Floor
The main idea behind any carpet installation is to cover the floor completely with a surface that is flat, secure, and comfortable. Nobody wants bumps, ripples, or edges that curl up. Carpet tiles, also known as modular carpets, are designed to lie flat from the start. Because they are individual pieces, they do not have the same tension issues as a giant roll. They sit on the floor, and when installed correctly, they create a surface that looks just as seamless as traditional wall-to-wall carpet. The key is in the preparation and the quality of the materials you choose.
Why Carpet Tiles Are a Smart Choice
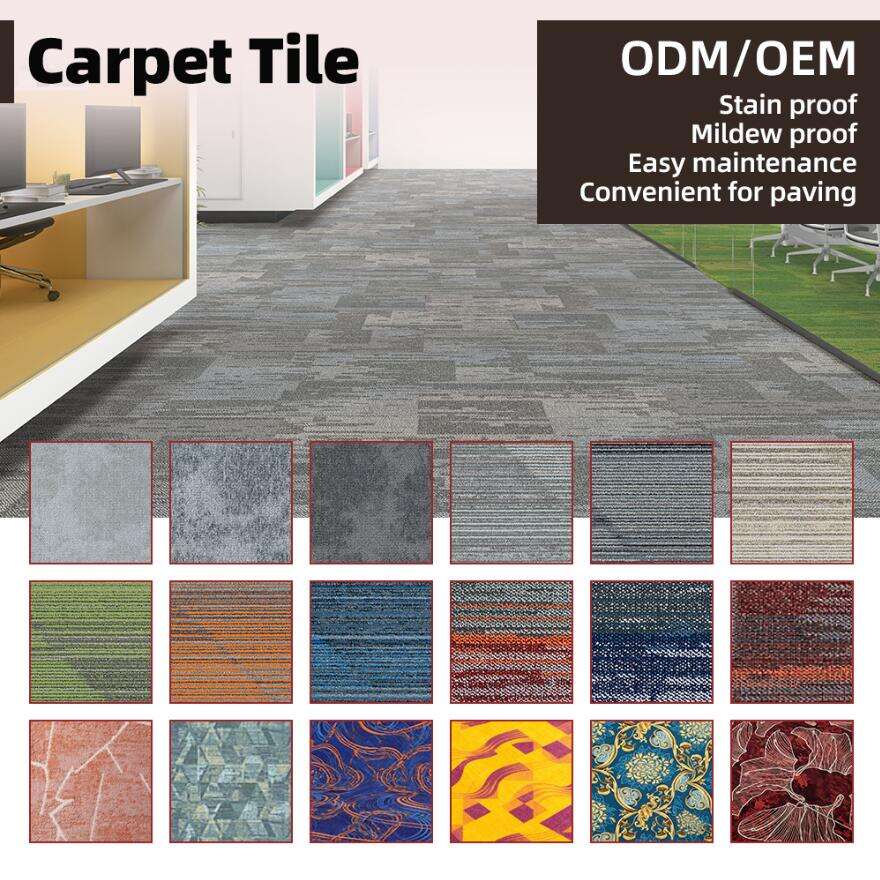
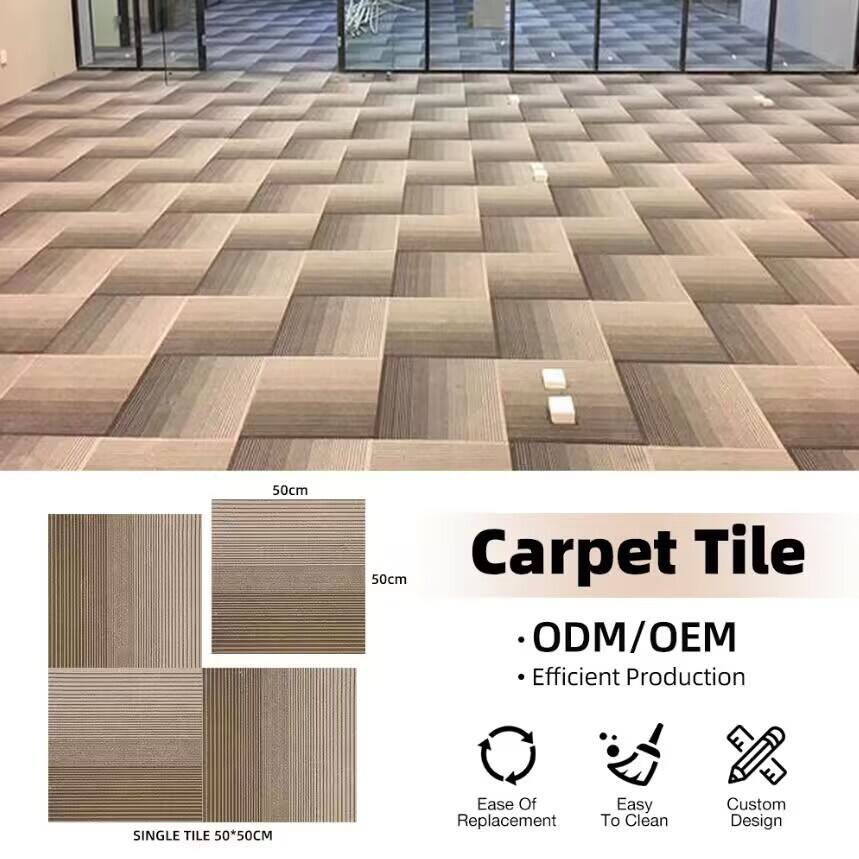
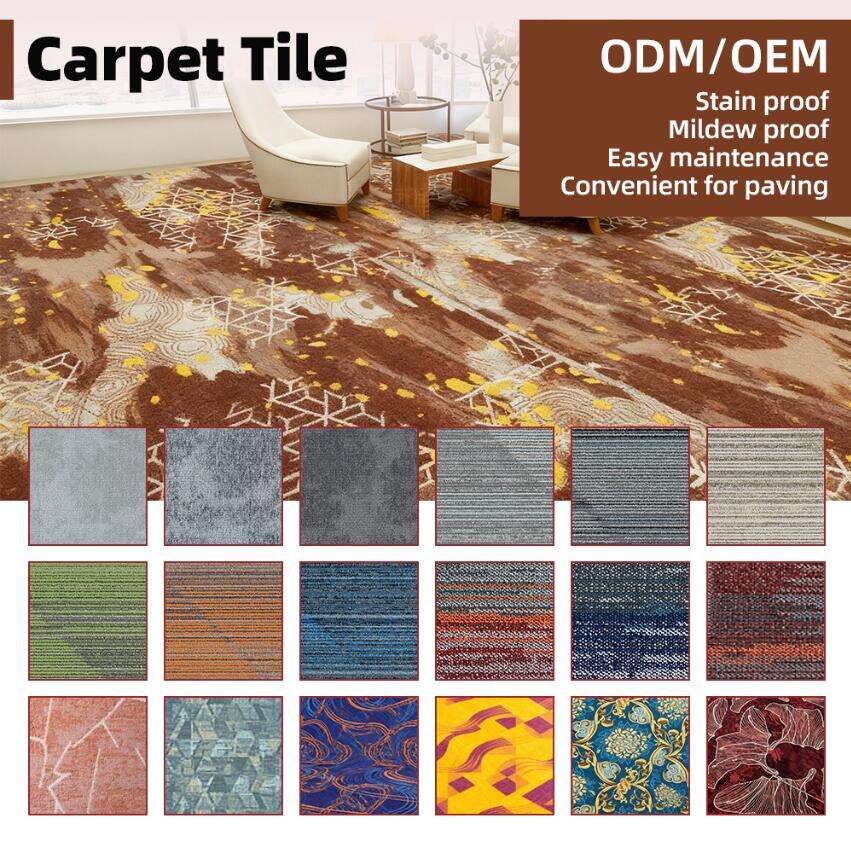
Carpet tiles are squares that you install one by one. They come in standard sizes like 50x50cm or 60x60cm. Think of them as the building blocks of your floor. They are flexible, durable, and incredibly practical. One of the biggest advantages is how easy they are to install. You do not need a power stretcher or special knee kickers. You just place them on the floor, and they fit together. This makes them perfect for DIY projects or for professional installers who want a fast, clean job.
Another huge benefit is maintenance. If a spill happens or a tile gets damaged, you do not have to rip up the whole room. You simply pop out the old tile and click in a new one. It is that simple. This can save a lot of money over the life of the floor. For busy places like offices, hotels, or airports, this is a game changer. You can keep your floors looking new without major disruptions. Plus, with so many colors and patterns available, you can get creative and design a floor that is uniquely yours.
Materials That Make a Difference
The quality of your floor starts with the materials. Good carpet tiles are made from fibers that are built to last. Nylon is a top performer for high traffic areas. It is tough, resists wear, and can be treated to be flame retardant and antistatic. This is important in places like computer rooms or banks where you have sensitive electronics. Nylon that meets fire safety standards like ASTM E648 and E662 gives you extra peace of mind.
Polypropylene, or PP, is another great choice. It is known for being stain resistant and easy to clean. It handles heavy foot traffic well and keeps its color. Polyester, or PET, offers a soft feel and good durability. The backing of the tile matters too. Options like PVC, PU, or felt add benefits like waterproofing, sound absorption, and extra cushion. Choosing the right materials for your space ensures your floor not only looks good but also performs well for years.
Preparing the Floor for Installation
Before you lay a single tile, the floor underneath needs to be ready. This step is just as important as with any other flooring. The subfloor must be clean, dry, flat, and smooth. Sweep or vacuum away every bit of dust and dirt. Any small bump or piece of debris can show through the tile or make it wobble. Check for dips or uneven spots. If you have a concrete floor, fill any cracks with a leveling compound. For wood subfloors, make sure all boards are secure and nails are hammered flat.
A smooth base gives your tiles a perfect surface to sit on. It also helps them lock together tightly, which prevents any shifting or gaps over time. Take your time with this step. Good preparation is the foundation of a professional looking floor that stays smooth and wrinkle free for the long haul.
Planning Your Layout
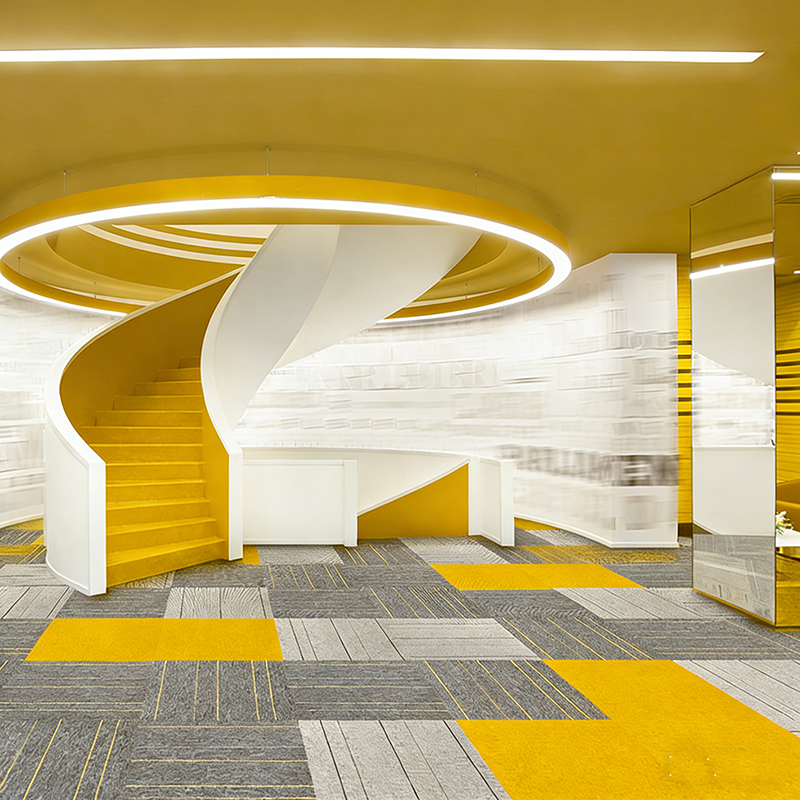
Now comes the fun part: planning your design. Before you start sticking tiles down, it helps to map out the room. Find the center of the room by measuring and snapping chalk lines on the floor. This gives you reference points to work from. It ensures your tiles are straight and your pattern is centered. If you are mixing colors or creating a pattern, lay out a few tiles dry on the floor to see how it looks. This is your chance to experiment without commitment.
Think about the direction of the pile. Most carpet tiles have an arrow on the back. For a uniform look, make sure all the arrows point the same way. If you want a more textured effect, you can alternate directions, like a checkerboard pattern. Planning ahead saves time and helps you avoid mistakes. It also ensures you have enough tiles to complete the job, especially if you are cutting pieces to fit around corners or doorways.

The Installation Process
Installing carpet tiles is straightforward. Start from the center of the room and work your way out toward the walls. Place the first tile at the intersection of your chalk lines. Press it firmly into place. Then add the next tile right next to it, making sure the edges line up perfectly. Most tiles are designed to fit snugly together without gaps. As you go, check frequently that everything is staying square and flat.
When you reach the walls, you will need to cut tiles to fit. Measure the space carefully, mark the tile, and cut it with a sharp utility knife and a straightedge. A clean cut gives you a professional edge. For doorways, you might use a transition strip to create a smooth edge between the carpet and another floor type. Once all the tiles are down, give the room a final vacuum to remove any dust or cutting debris. The result is a smooth, seamless floor that looks fantastic.
Maintaining Your Carpet Tiles
One of the best things about carpet tiles is how easy they are to care for. Regular vacuuming keeps dirt and dust from building up. A vacuum with good suction, say over 2KW, works well to keep the fibers clean. For deeper cleaning, a water scrub once or twice a year helps refresh the tiles. If a tile gets a stubborn stain, you can spot clean it. And if it is beyond saving, just replace that one tile. It is that simple.
Another smart trick is rotation. Over time, areas with heavy foot traffic may show more wear. You can swap a tile from a traffic area with one from under a desk or in a corner. This evens out the wear and extends the life of your whole floor. It is a simple way to keep your floors looking new for many years.
Why This Approach Works for Any Space
Whether you are outfitting a busy office, a cozy home, or a public space like a library or museum, carpet tiles offer a solution that is hard to beat. They combine the look and feel of traditional carpet with modern practicality. You get a floor that is smooth, comfortable, and durable. You get the freedom to design your own patterns and colors. And you get the peace of mind that comes with easy maintenance and replacement.
With the right materials and a careful installation, you can achieve a wall-to-wall carpet look that is completely smooth and wrinkle free—without the need for special tools or huge rolls. It is a modern way to get a classic look, with benefits that make sense for today’s busy world.